Scanning a document to email on an iPhone is simple. You can do it in a few steps.
In today’s fast-paced world, the need to send documents swiftly and efficiently is crucial. Whether you’re a student, professional, or just need to send a paper quickly, your iPhone can help. It’s equipped with tools that make scanning and emailing documents easy.
No need for bulky scanners or extra apps. With a few taps, you can turn your physical documents into digital files. This blog will guide you through the process, ensuring you can scan and email documents effortlessly. Say goodbye to the hassle and hello to convenience. Let’s dive into the steps to get your documents emailed directly from your iPhone.
Credit: readdle.com
Preparing Your Iphone
Scanning a document to email on iPhone is simple. Open the Notes app, create a new note, tap the camera icon, and select “Scan Documents”. Save and share the scanned document via email effortlessly.
### Preparing Your iPhoneBefore you start scanning documents to email on your iPhone, it’s essential to ensure your device is ready. Preparing your iPhone properly can save you time and prevent frustration. Let’s walk through the steps you need to take.Check For Updates
First, make sure your iPhone is running the latest iOS version. Updates often come with improved features and security patches.To check for updates, go to Settings > General > Software Update. If there’s an update available, download and install it. This ensures your device has the latest scanning capabilities.Ensure Sufficient Storage
Running out of storage can halt your scanning process. Ensure you have enough storage space for your scanned documents.Check your storage by navigating to Settings > General > iPhone Storage. Here, you can see how much space is available. Delete unused apps or media to free up space if needed.—Having your iPhone ready is the first step to a smooth scanning experience. Have you ever missed an important task because your phone wasn’t updated? Share your thoughts below!
Credit: readdle.com
Using The Notes App
Scanning documents using your iPhone is easy with the Notes app. This built-in app is convenient and user-friendly. Follow these steps to scan and email documents effortlessly.
Opening The Notes App
First, locate the Notes app on your iPhone. It has a yellow icon with a white notepad. Tap to open it. If you can’t find it, use the search bar at the top of the screen. Type “Notes” and tap the app when it appears.
Creating A New Note
Next, create a new note. Tap the square with a pencil icon in the bottom right corner. This opens a blank note. Ready for your scan. Once the new note is open, look for the camera icon above the keyboard. Tap this icon. A menu will pop up.
Choose “Scan Documents” from the menu. Your camera will open. Position your document in view. The app will automatically detect the edges and capture the scan. If needed, you can adjust the corners manually. Tap “Keep Scan” to save the image. Repeat for multiple pages.
After scanning, tap “Save” in the bottom right. Your scanned document is now in your note. To email it, tap the share icon in the upper right. Select “Mail” from the options. Enter the recipient’s email address and a subject. Tap “Send” to email your scanned document.
Scanning The Document
Scanning a document to email on your iPhone is simple. With built-in features, you can quickly scan and send important documents. In this section, we will guide you through the steps to scan a document. Make sure to follow each step carefully for the best results.
Positioning The Document
First, place the document on a flat surface. Ensure the area is well-lit. This helps the camera capture clear images. Align the document within the frame. Make sure no parts are cut off. If needed, adjust the document’s position for better alignment.
Capturing The Scan
Open the Notes app on your iPhone. Tap the camera icon. Select “Scan Documents” from the options. Hold your iPhone steady over the document. The app will automatically detect the edges. You can manually adjust the corners if needed. Once the scan is perfect, tap the capture button. The scanned document will appear as a preview.
Review the scanned document. Ensure all details are clear and legible. If satisfied, save the scan. You can now send the scanned document via email.
Adjusting The Scan
Adjusting the scan ensures your document looks clear before sending. Use the crop, rotate, and filter options on your iPhone. This helps you create a sharp and professional document to email.
Adjusting the ScanOnce you’ve scanned your document using your iPhone, the next step is to refine the scan for better clarity and presentation. Adjusting the scan includes cropping the image and applying filters. These adjustments can make a huge difference in the readability and professionalism of your scanned document.Cropping The Image
Cropping the image helps remove any unwanted background and focuses on the important parts of the document. To crop, simply drag the corners of the scan to fit the document’s edges. This can be especially useful if you’re scanning a document in a busy environment or if the document has borders.You can also rotate the scan if needed. Sometimes, the scan might be slightly tilted, and rotating it can make the document look straighter and more professional.Applying Filters
Filters can enhance the clarity of your scanned document. Your iPhone offers several filter options like grayscale, black and white, and photo.Choosing the right filter depends on the type of document. For text-heavy documents, the black and white filter can provide high contrast, making the text clearer. For color documents, you might want to use the original photo filter to retain the colors.Experiment with different filters to see which one works best for your document. A good filter can make your document look sharper and more readable.By taking the time to adjust your scan, you ensure that your document is clear and professional. This small effort can make a big impact, especially when you need to email important documents. Have you tried adjusting your scans? What differences have you noticed?Saving The Scanned Document
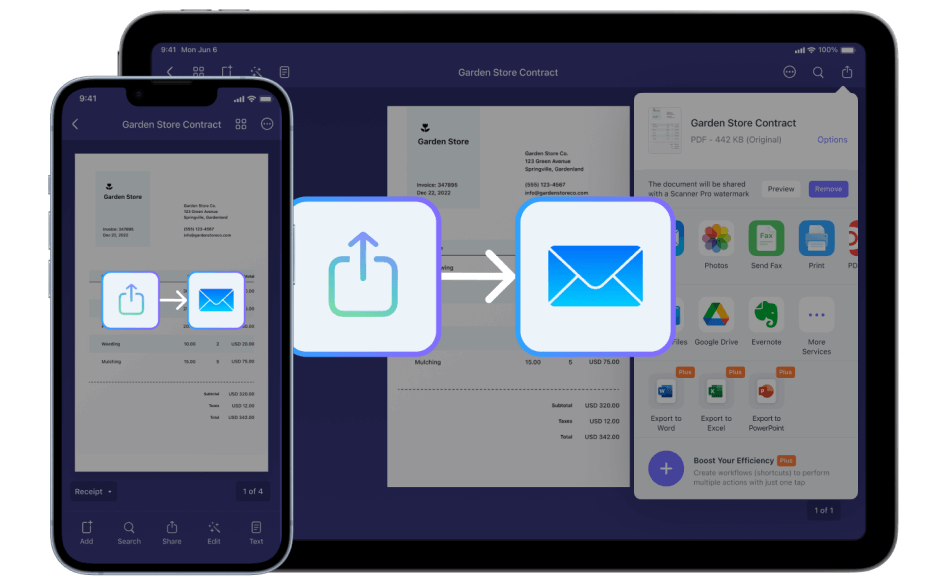
Scan and email documents on your iPhone effortlessly. Open the Notes app, tap the camera icon, and select “Scan Documents”. Save the scanned document, then share it via email.
When you scan a document on your iPhone, saving it correctly is crucial for easy access and sharing. This process includes saving the scanned document as a PDF and naming the file appropriately. These steps ensure you can quickly find and use your scanned documents whenever needed.Saving As Pdf
After scanning your document, tap on the scanned image to open it. You’ll see an option to save or share at the bottom of the screen. Select the “Save as PDF” option.Saving as a PDF ensures that the document’s format remains consistent across devices. PDFs are widely accepted and easy to share via email or other platforms. Saving your scans as PDFs is a simple step that can save you a lot of hassle later.Naming The File
Naming your file correctly is just as important as saving it. Tap on the file name to edit it. Use a clear and descriptive title.For instance, if you’re scanning a receipt from a recent purchase, name it something like “Grocery_Receipt_Jan2024”. This approach makes it easier to search for and identify your files. Properly named files keep your digital workspace organized and efficient.Have you ever struggled to find a document because it was poorly named? Spending a few extra seconds to name your files correctly can save you a lot of time in the future.By following these simple steps, you’ll ensure that your scanned documents are easy to locate and share. What tips do you have for staying organized with digital documents? Share your thoughts in the comments below!
Credit: m.youtube.com
Emailing The Document
Emailing a scanned document from your iPhone is simple. This process involves using the Mail app. You can attach the scanned document and send it quickly. Let’s see the steps involved in this process.
Opening Mail App
First, unlock your iPhone. Locate the Mail app icon on your home screen. Tap the icon to open the Mail app. You can use any email account set up on your iPhone.
Attaching The Scanned Document
After opening the Mail app, tap the compose button. This button looks like a square with a pencil. A new email draft will open. To attach your scanned document, tap in the email body. A menu will appear. Select the “Insert Photo or Video” option. Navigate to the location of your scanned document.
Once you find your document, tap on it. The document will attach to your email. Enter the recipient’s email address in the “To” field. Add a subject line to your email. You can also write a message in the email body.
Finally, review your email. Make sure the document is attached and all information is correct. Tap the send button, which looks like an upward arrow. Your scanned document will be sent via email.
Troubleshooting Tips
Scanning a document to email on iPhone can be simple. Open the Notes app, create a new note, and select the camera icon to scan. After scanning, use the share option to email the document.
When scanning a document to email on your iPhone, you might encounter some hiccups. These troubleshooting tips can help you quickly resolve common issues and ensure your documents are sent smoothly. Let’s dive into some practical solutions.Scan Quality Issues
If your scans are blurry or distorted, it can be frustrating. Start by ensuring your camera lens is clean. A smudge can ruin an otherwise perfect scan.Adjust the lighting around your document. Natural light works best, but if you’re indoors, make sure there’s enough light to clearly capture the text and images.Hold your iPhone steady. Use both hands or rest your elbows on a table to minimize shaking. You can also try using a flat surface to keep your document still and aligned.Email Attachment Problems
Sometimes, the scanned document won’t attach to your email. Check your internet connection first. A weak signal can prevent attachments from uploading.Ensure the file size isn’t too large. iPhone scans are typically in PDF or JPEG format, which are usually small, but multiple pages can add up. If the file is too big, consider compressing it or splitting it into smaller parts.Lastly, update your email app and iOS. Outdated software can cause compatibility issues, preventing attachments from sending properly.Are you experiencing any other issues with scanning documents to email on your iPhone? Share your thoughts and let’s troubleshoot together!Frequently Asked Questions
Can I Scan A Document With My Iphone And Email It?
Yes, you can scan a document with your iPhone and email it. Use the Notes app to scan documents easily.
How Do I Scan A Document Directly To Email?
To scan a document directly to email, place the document in the scanner, select “Scan to Email” on the scanner menu, enter the recipient’s email address, and press “Send”.
How Do I Scan A Document And Email It As A Pdf On Phone?
Use a scanning app like Adobe Scan or CamScanner. Open the app, capture the document, save it as a PDF, and email it directly.
How Do You Email A Document From An Iphone?
Open the Mail app. Tap the compose icon. Attach the document using the paperclip or attachment icon. Send the email.
Conclusion
Scanning documents to email on your iPhone is simple. Follow the steps in this guide. You can quickly digitize important papers. Save time and stay organized. It’s a useful skill for work and personal tasks. Now, you can handle documents with ease.
Happy scanning!