Adding a signature to your email on a Mac is simple. It personalizes your messages and looks professional.
Many people use email for work or personal communication. Adding a signature can save time and make your emails look polished. This guide will help you set up a signature on your Mac. Whether you’re new to Mac or just looking to personalize your emails, we’ve got you covered.
Follow these easy steps to add a signature to your email and make your messages stand out.
Credit: pdf.wondershare.com
Setting Up Mail App
Setting up the Mail app on your Mac is a straightforward process. Adding a signature enhances your emails, giving a professional touch. Follow these steps to set up the Mail app and add your signature.
Opening Mail App
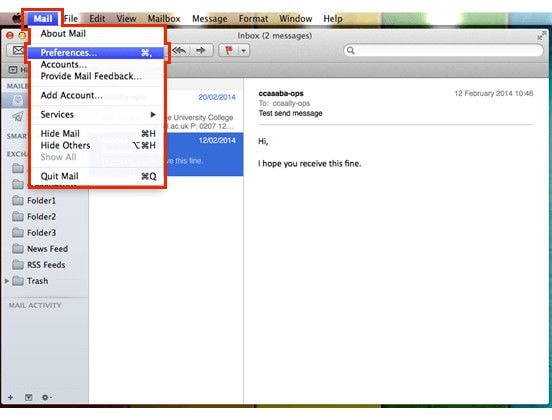
First, open the Mail app on your Mac. You can find it in the Dock or Applications folder. Click the Mail app icon to launch it.
Navigating Preferences
Once the Mail app is open, you need to access the preferences. Follow these steps:
- Click on the Mail menu in the top-left corner of the screen.
- Select Preferences from the drop-down menu.
The Preferences window will appear. Here, you can customize your email settings, including adding a signature.
In the Preferences window, follow these steps:
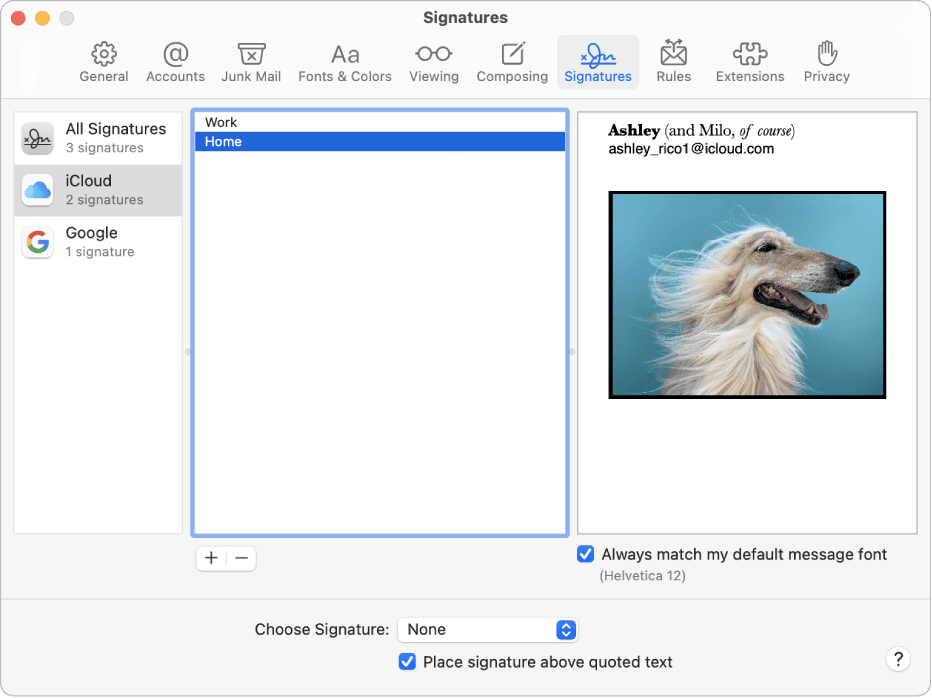
- Click on the Signatures tab.
- Select the email account for which you want to create a signature.
- Click the plus (+) button at the bottom of the middle column.
- Enter a name for your signature in the left column.
- Type your desired signature in the right column.
You can customize the font, size, and color of your signature text. You can also add images or links to your signature.
Setting Default Signature
After creating your signature, you can set it as the default for your email account:
- Select your email account in the Choose Signature drop-down menu.
- Choose the signature you created from the list.
Now, your signature will be automatically added to all new emails, replies, and forwards for that account.
Adding a signature to your emails on Mac can save time and ensure consistency. Follow the steps above to set up your Mail app and create a personalized email signature.
Creating A New Signature
Adding a signature to your emails on a Mac can make your messages look more professional. It also saves time by not having to type your contact information repeatedly. In this section, you will learn how to create a new signature step-by-step. Follow the easy steps below to add your unique touch to every email you send.
Accessing Signatures Tab
To start, open the Mail app on your Mac. At the top left of the screen, click on Mail, then select Preferences from the drop-down menu. In the Preferences window, click on the Signatures tab. This is where you will manage your email signatures.
Adding A New Signature
Once you are in the Signatures tab, you will see a list of your email accounts on the left. Select the account you want to add a signature to. Then, click the + button below the middle column to create a new signature.
Now, you can type your signature in the text box on the right. Here are some tips for what to include:
- Your full name
- Your job title
- Your company name
- Contact information (phone number, email address)
- Company website or social media links
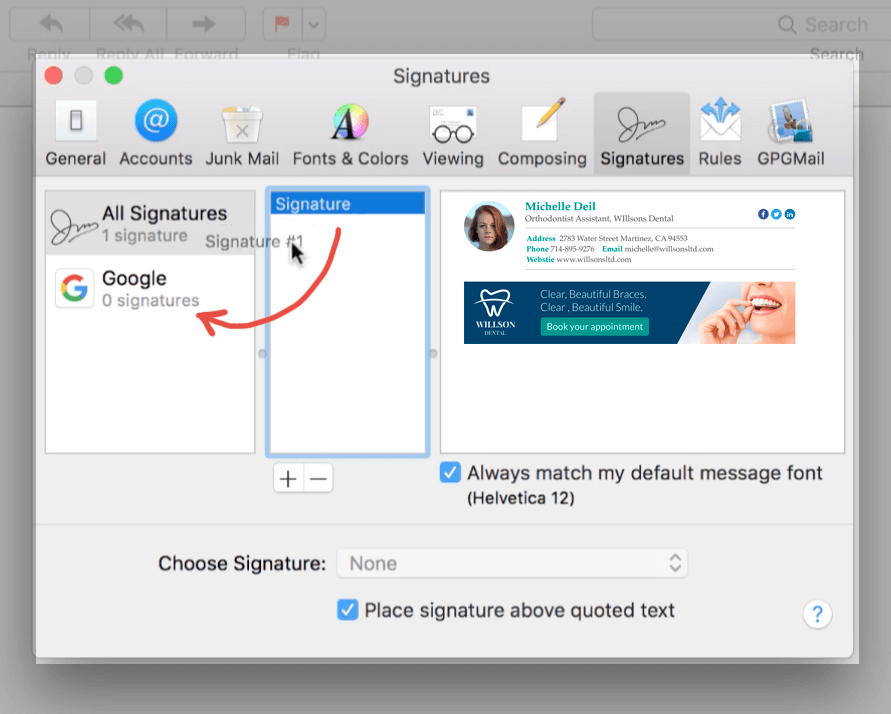
Feel free to format the text using bold, italics, or underline to make important details stand out. You can also add an image or logo by dragging it into the text box.
After creating your signature, you can assign it to your email account by dragging it from the middle column to the account name in the left column. You can create multiple signatures and choose which one to use when composing an email.
Customizing Your Signature
Creating a unique email signature on your Mac helps you stand out. Customizing your signature allows you to add a personal touch. This guide will cover the different ways to customize your email signature.
Formatting Text
Formatting your text can make your signature look professional. You can change the font style, size, and color.
- Font Style: Choose a font that matches your brand.
- Size: Use a readable size, usually between 10-12 points.
- Color: Pick a color that complements your brand colors.
For instance, a table can help compare different font styles:
| Font Style | Example |
|---|---|
| Arial | This is Arial font. |
| Times New Roman | This is Times New Roman font. |
Adding Images And Links
Images and links can make your signature more interactive. You can add a company logo or social media icons.
- Company Logo: This helps in brand recognition.
- Social Media Icons: Add links to your social profiles.
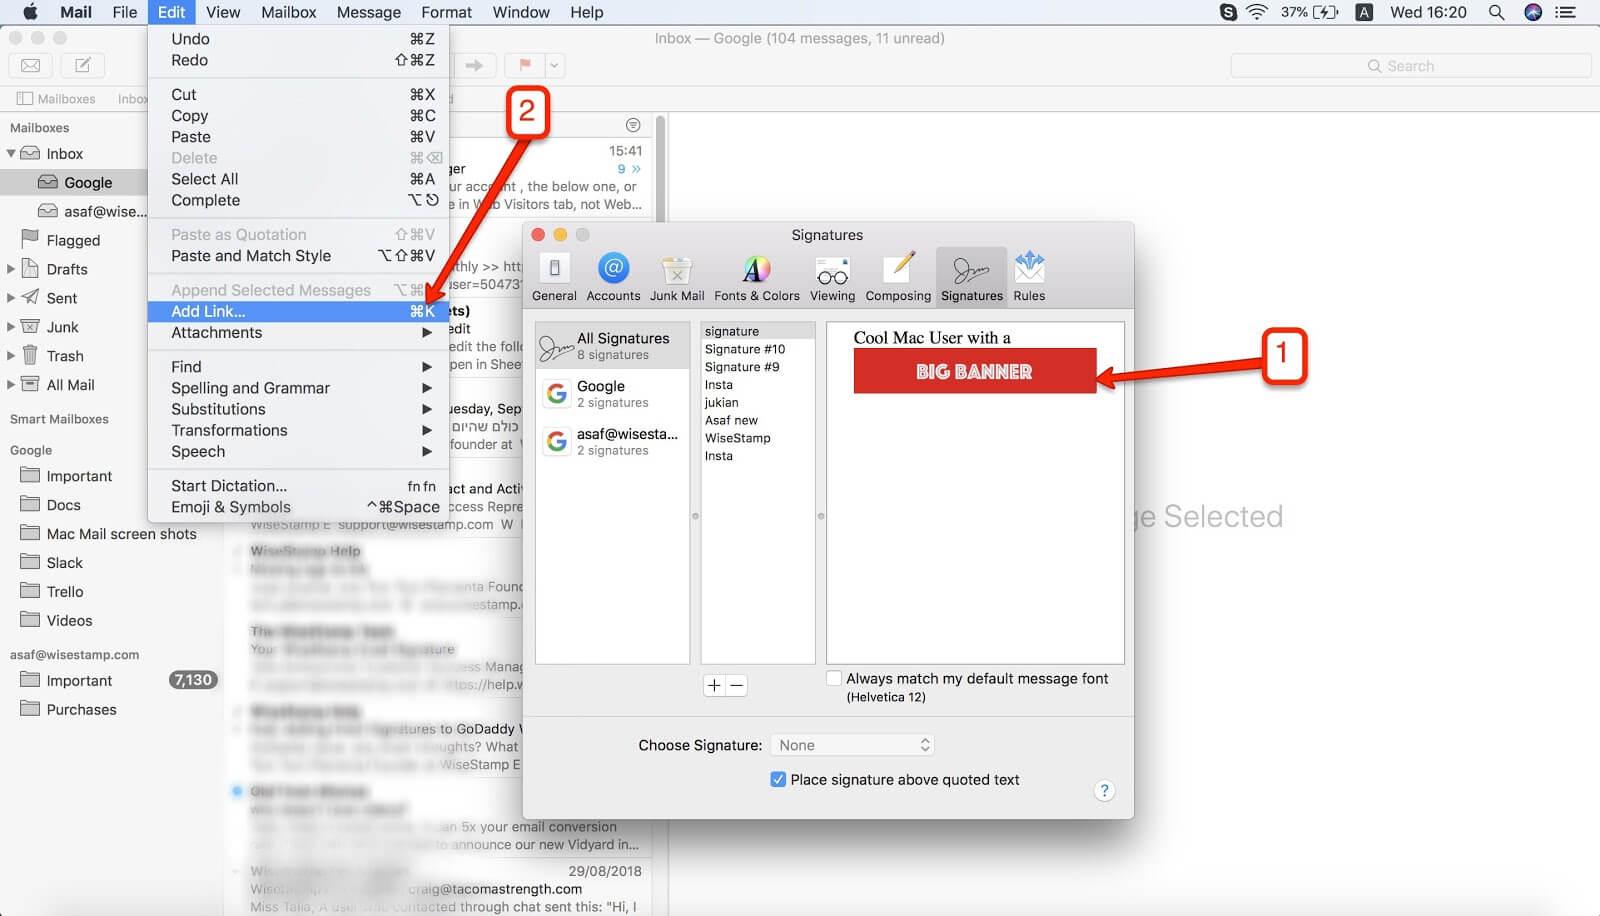
To add an image, follow these steps:
1. Go to "Mail" > "Preferences".
2. Select "Signatures".
3. Click the "+" button to create a new signature.
4. Drag and drop your image into the signature box.
To add links, use the following HTML code:
Your Website
Example of adding a social media link:
Customizing your email signature on a Mac is simple and effective. It helps in creating a professional and recognizable email identity.
Assigning Signature To An Account
Adding a signature to your email can make your messages look professional. It’s easy to assign a signature to an account on a Mac. Follow these steps to ensure your signature is attached to the right email account.
Selecting Email Account
First, open the Mail app on your Mac. Go to the Mail menu and select Preferences. Click on the Signatures tab. You will see a list of your email accounts on the left side.
Choose the account you want to assign the signature to. This ensures the correct signature is used for the right account. If you have multiple accounts, repeat the steps for each one.
Setting Default Signature
Once you have selected the email account, look for the Choose Signature dropdown menu on the right. Select the signature you want as the default for this account.
If you have more than one signature for an account, you can set different defaults for different occasions. For instance:
- Work emails: Professional Signature
- Personal emails: Casual Signature
Once you’ve chosen your default signature, close the preferences window. Your selected signature will now automatically appear in new emails for the chosen account.
Using Multiple Signatures
Using multiple signatures in your email can help personalize and streamline communication. On a Mac, this feature is easy to use. You can create different signatures for work, personal, or other uses. This guide will help you understand how to create and switch between multiple signatures.
Creating Multiple Signatures
To create multiple signatures, follow these steps:
- Open the Mail app on your Mac.
- Go to Mail in the top menu, then select Preferences.
- Click on the Signatures tab.
- In the left column, select the email account you want to add a signature to.
- Click the + button to add a new signature.
- Type your new signature in the text box on the right.
Repeat these steps to create more signatures for the same or other accounts. You can have a unique signature for each type of email you send.
Switching Between Signatures
Switching between signatures is simple. Here’s how:
- Open the Mail app and start a new email.
- Click on the Signature drop-down menu located below the email body.
- Select the signature you want to use from the list.
You can change your signature anytime before sending the email. This gives you flexibility to choose the most suitable signature for each email.
To summarize:
| Task | Steps |
|---|---|
| Create Signature | Mail > Preferences > Signatures > + > Type Signature |
| Switch Signature | New Email > Signature Drop-down > Select Signature |
Using multiple signatures can make your emails more professional and organized. This simple guide should help you manage your signatures easily on your Mac.
Credit: www.wisestamp.com
Troubleshooting Common Issues
Adding a signature to your email on a Mac can be straightforward. But sometimes, users encounter issues. Whether it’s the signature not appearing or formatting problems, these common issues can be frustrating. Here, we will address these problems and provide solutions.
Signature Not Appearing
If your email signature is not showing up, there are a few steps you can take to troubleshoot:
- Check the Settings: Ensure your signature is enabled in the email settings. Go to Mail > Preferences > Signatures and verify the signature is assigned to the correct email account.
- Restart Mail: Sometimes, restarting the Mail application can resolve this issue. Close Mail and reopen it to see if the signature appears.
- Update the App: Make sure you are using the latest version of the Mail app. Updates often fix bugs and other issues.
Formatting Problems
Formatting issues with your email signature can make it look unprofessional. Here’s how to fix them:
- Use Plain Text: If the formatting looks odd, try switching to plain text. This can help resolve unexpected formatting changes.
- Check HTML: If you are using HTML, ensure your code is correct. Improper HTML can lead to formatting problems. Here’s a basic example of HTML for a signature:
- Consistency: Ensure the signature looks the same across different devices and email clients. Send test emails to verify consistency.
Addressing these common issues can help ensure your email signature looks professional and functions correctly.
Credit: www.wisestamp.com
Frequently Asked Questions
How Do I Create An Email Signature On Mac?
To create an email signature on Mac, open the Mail app. Go to “Mail” > “Preferences” > “Signatures”. Click the “+” button to add a new signature.
Can I Add An Image To My Mac Email Signature?
Yes, you can add an image. Simply drag and drop the image into the signature editor in the Mail app.
How Do I Set A Default Signature On Mac?
To set a default signature, go to “Mail” > “Preferences” > “Signatures”. Select the desired signature and assign it to your email account.
Can I Use Html In My Mac Email Signature?
Yes, you can use HTML. Create your signature in an HTML editor, then copy and paste it into the signature editor in the Mail app.
Conclusion
Adding a signature to your email on a Mac is simple. Follow the steps mentioned, and you’ll have a personalized signature in no time. This makes your emails look professional. It also saves you time. Set it up once, and it’s ready for every email.
Start today and make your emails stand out. Your recipients will appreciate the touch.