Adding a link to your email signature is simple. It enhances your professional communication.
This guide will help you do it step-by-step. An email signature with a clickable link can boost your professional image. It’s a small yet powerful tool in today’s digital communication. Whether you’re networking, marketing, or just staying in touch, a well-crafted email signature can make a big difference.
Including a link to your website, social media, or portfolio allows recipients to connect with you easily. This guide will walk you through the process. You don’t need to be a tech expert. Just follow the steps and you’ll have a polished email signature in no time. Let’s dive in! Creating a professional email signature is an essential step in presenting yourself effectively in the digital world. Once you’ve set up your signature, you’ll find it easier to manage your communications, allowing you to automate emails in Outlook easily. This will not only save you time but also ensure that every message you send maintains a consistent and professional appearance.
Choosing The Right Link
Adding a link to your email signature can boost your online presence. But, choosing the right link is crucial. The link should align with your goals and be relevant to the email content. Think about what you want the recipient to see or do. This will help you decide on the best link to include.
Purpose Of The Link
First, understand the purpose of adding a link. Is it to drive traffic to your website? Or perhaps to share your latest blog post? Each purpose requires a different type of link. Knowing your goal will help you choose the most effective link.
If your goal is to promote your social media, include a link to your profile. If you want to highlight a specific product, link directly to that product page. The key is to match the link with your intended outcome.
Types Of Links To Include
There are various types of links you can include in your email signature. Consider these options:
- Website Link: Directs recipients to your main website. Useful for general promotion.
- Blog Link: Takes readers to your latest blog post. Great for sharing content.
- Social Media Links: Connects recipients to your social profiles. Ideal for building social media presence.
- Product Link: Directs to a specific product page. Effective for highlighting a particular item.
- Appointment Link: Leads to a booking page. Useful for scheduling meetings or consultations.
Choose the type of link based on your primary goal. This will ensure that the link is beneficial and relevant. Always test the link to make sure it works correctly. A broken link can create a bad impression.
Creating A Professional Email Signature
Creating a professional email signature is crucial for making a lasting impression. A well-designed signature adds credibility and provides essential contact information. Adding a link to your email signature can direct recipients to your website, social media profiles, or a portfolio. Let’s dive into creating a polished email signature.
Essential Elements
Every professional email signature should include these basic elements:
- Name: Your full name helps recipients identify you.
- Job Title: Clearly state your position and company.
- Contact Information: Add your phone number and email address.
- Website: Include a link to your website or portfolio.
Consider adding social media links and a professional photo. These elements help personalize your signature.
Design Tips
Follow these design tips to make your email signature look professional:
- Keep it Simple: Avoid clutter. Use a clean design.
- Use Consistent Fonts: Choose one or two fonts. Avoid using too many styles.
- Color Scheme: Stick to your brand colors. Use contrasting colors to highlight links.
- Alignment: Align your text to the left for easy reading.
HTML is a powerful tool for designing email signatures. Here’s a basic example:
John Doe


Marketing Manager


Phone: (123) 456-7890


Email: john.doe@example.com


www.example.com
Use this template as a starting point. Customize it to fit your needs.
Adding A Link In Gmail
Adding a link to your email signature in Gmail can make your emails look professional. It also helps to provide quick access to your website, LinkedIn profile, or other important links. Follow these simple steps to add a link to your Gmail signature.
Accessing Signature Settings
First, sign in to your Gmail account. Click on the gear icon in the top-right corner. Then select See all settings from the drop-down menu. This will take you to the settings page.
Next, click on the General tab. Scroll down until you find the Signature section. Here, you can create or edit your email signature. Make sure to include your preferred pronouns in the signature for clarity and inclusion. Following best practices for email signature pronouns can help foster a respectful communication environment. Additionally, consider incorporating links to your social media profiles or a professional website for added context. When crafting your email signature, it’s also important to think about addressing multiple recipients in emails. This can enhance the clarity of your communication, ensuring that everyone feels recognized and included. Remember that an expressive signature can leave a lasting impression and encourages a more inclusive conversation among all parties involved.
Inserting The Link
In the signature box, type the text you want to turn into a link. Highlight this text with your cursor. Then, click on the link icon in the toolbar above the signature box.
A small window will pop up. Enter the URL you want to link to in the Web address field. Click OK to insert the link. Your highlighted text should now be a clickable link.
Once you have added the link, scroll to the bottom of the settings page. Click on Save Changes to apply your new signature. Now, every email you send will include your updated signature with the link.
Credit: blog.gimm.io
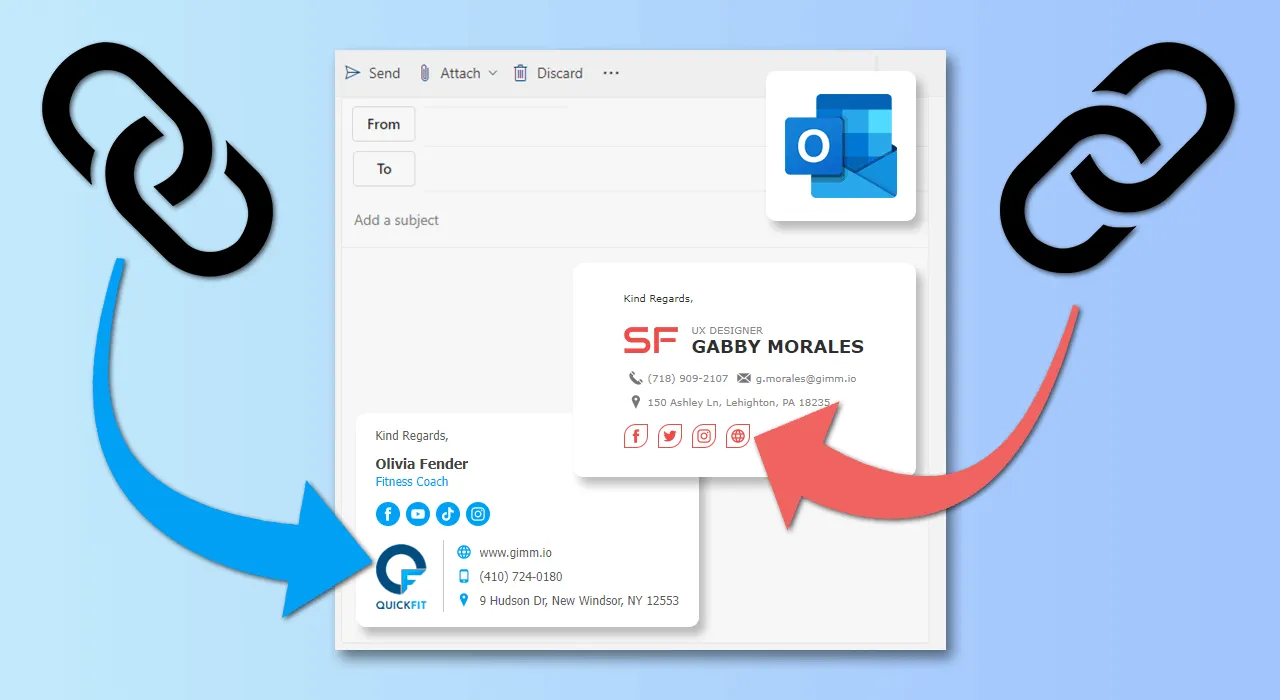
Adding A Link In Outlook
Adding a link to your email signature can enhance your communication. It helps recipients find more information about you or your company. If you use Outlook, it’s easy to include a link in your signature. Below, we detail the steps to follow.
Accessing Signature Options
First, you need to access the signature settings in Outlook. Follow these steps:
- Open Outlook and go to the File menu.
- Select Options from the dropdown list.
- In the Outlook Options window, click on Mail.
- Look for the Signatures button and click it.
Embedding The Link
Once you have the signature settings open, you can embed your link:
- In the Signatures and Stationery window, select the signature you want to edit.
- Place your cursor where you want to add the link.
- Click on the Insert Hyperlink icon (it looks like a globe with a chain link).
- In the Insert Hyperlink dialog box, enter the URL in the Address field.
- Click OK to insert the link.
- Format the link text as needed.
- Click Save to save your changes.
Your email signature now includes a clickable link. This makes it easy for recipients to visit the linked page.
Adding A Link In Apple Mail
Adding a link to your email signature in Apple Mail can enhance your communication. It makes it easier for recipients to visit your website or social media profiles. Follow these steps to add a link to your Apple Mail signature.
Navigating To Signatures
First, you need to access the Signatures settings in Apple Mail.
- Open Apple Mail.
- Click on Mail in the top menu.
- Select Preferences.
- Go to the Signatures tab.
You will see a list of your email accounts on the left. Select the account where you want to add the signature. Once you’ve selected the account, look for the signatures option in the settings menu. This section will guide you through the process of customizing your signature. For those unsure about how to add email signature on mac, you can find detailed instructions in the help section.
Adding The Url
Now, you can add a link to your signature.
- In the middle column, click the + button to create a new signature.
- Type your desired signature text in the right column.
- To add a link, highlight the text you want to hyperlink.
- Right-click on the highlighted text and select Add Link.
- Enter the URL you want to link to.
- Click OK.
Your signature now includes a clickable link. You can test it by composing a new email and checking your signature.

Credit: youremailsignature.com
Best Practices For Email Signatures
Adding a link to your email signature can boost your professional image. But it’s essential to follow best practices to ensure your signature is effective and user-friendly.
Keeping It Simple
A simple email signature is more likely to make a good impression. Avoid clutter and keep the design clean.
- Include only necessary information like your name, title, and contact details.
- Limit the number of links to one or two.
- Use a plain font and avoid bright colors.
Clarity is key. Users should easily find the information they need.
Ensuring Mobile Compatibility
Many people read emails on their phones. Your signature must be mobile-friendly.
Here are some tips:
- Use a single-column layout.
- Ensure text is large enough to read on small screens.
- Test your signature on different devices to check compatibility.
Mobile compatibility ensures that your signature looks good everywhere.
| Best Practices | Description |
|---|---|
| Keeping it Simple | Include only necessary information and limit links. |
| Ensuring Mobile Compatibility | Use a single-column layout and large text. |
Follow these best practices to create an effective email signature. Your email signature is a reflection of your professionalism. Make it count.
Testing Your Email Signature
Creating a professional email signature is just the beginning. Before using it, test your email signature. Testing ensures all links work and the signature looks good. This step prevents issues when emailing clients or colleagues.
Follow these steps to test your email signature. This will save you time and avoid potential embarrassment.
Sending Test Emails
Send a test email to yourself. Use different email accounts if possible. This checks how the signature appears in various email clients.
Ask a friend or colleague to review it. They can spot issues you might miss. Ensure the signature looks consistent and professional.
Checking Link Functionality
Check each link in your signature. Click on every link to ensure it directs to the correct page. This step is crucial for maintaining professionalism.
Links that do not work can frustrate recipients. They might doubt your attention to detail. Confirm all links are functional and accurate.
Troubleshooting Common Issues
Adding a link to your email signature can sometimes result in issues. Troubleshooting these problems can help ensure your links work properly and your signature looks clean. Below are some common issues and how to fix them.
Broken Links
Broken links can be frustrating. They may occur for various reasons. Here’s how to fix them:
- Check the URL: Ensure the URL is correct. Even a small typo can break the link.
- Test the Link: Open the link in a browser to verify it works.
- Update the Protocol: Make sure the URL starts with
http://orhttps://. - Review Email Settings: Some email clients may strip links. Check your client’s settings.
Formatting Problems
Formatting issues can make your signature look unprofessional. Here’s how to address common formatting problems:
- Use HTML: Ensure your email client supports HTML signatures. Plain text signatures can cause formatting issues.
- Consistent Styling: Use consistent font sizes, styles, and colors.
- Test Across Clients: Your signature may look different in various email clients. Test it across multiple clients.
- Avoid Large Images: Large images can cause formatting issues. Use smaller, optimized images.
By following these steps, you can ensure your email signature looks professional and all links work correctly.

Credit: www.wisestamp.com
Frequently Asked Questions
How Do I Add A Link To My Email Signature?
To add a link to your email signature, open your email settings. Edit your signature and insert the desired link. Save changes.
Can I Add Multiple Links To My Email Signature?
Yes, you can add multiple links to your email signature. Just repeat the process of inserting each link in the signature editor.
Which Email Providers Support Link In Signatures?
Most major email providers support links in signatures. This includes Gmail, Outlook, Yahoo Mail, and Apple Mail.
Why Should I Add A Link To My Email Signature?
Adding a link to your email signature promotes your website, social profiles, or important resources. It enhances professional communication.
Conclusion
Adding a link to your email signature boosts professionalism and efficiency. It guides recipients to important resources quickly. Follow the steps mentioned to create a seamless signature. Keep it clean and straightforward. Test the link to ensure it works. Consistent use enhances your communication.
Happy emailing!