
Sending an email from Sendfox to Gmail is simple and efficient. First, ensure your Sendfox account is set up.
Then, follow the steps to compose and send your email. Email marketing is powerful, and knowing how to use it effectively can enhance your communication. Sendfox is a popular email marketing tool that allows users to create and send emails efficiently.
On the other hand, Gmail is one of the most widely used email services globally. Combining these two platforms can streamline your email marketing efforts. Whether you are a business owner, a marketer, or just looking to stay connected with your audience, learning to send emails from Sendfox to Gmail is essential. In this guide, we will walk you through the steps to achieve this seamlessly.
Introduction To Sendfox And Gmail
Sending emails efficiently is crucial for any business. Sendfox and Gmail are popular tools for this purpose. Understanding how to use them together can improve your email communication. Let’s dive into what makes these platforms unique.
What Is Sendfox?
Sendfox is an email marketing service. It helps you create and send emails to your audience. Designed for simplicity, it offers easy-to-use tools. You can build email lists and schedule campaigns. Sendfox also provides analytics to track your performance. It’s perfect for small businesses and content creators.
Overview Of Gmail
Gmail is a free email service by Google. Known for its user-friendly interface, it offers robust features. You can send and receive emails with ease. Gmail also integrates well with other Google services. It includes built-in security features to protect your information. Millions of users trust Gmail for their daily communication.
Setting Up Your Sendfox Account
To send emails from Sendfox to Gmail, you first need to set up your Sendfox account. This process is straightforward and involves creating your account and verifying your email. Follow these steps to get started.
Creating A Sendfox Account
First, you need to create a Sendfox account. Follow these steps:
- Go to the Sendfox website.
- Click on the Sign Up button.
- Enter your email address and create a password.
- Click the Create Account button.
After creating your account, you will receive a confirmation email. Check your inbox and click on the confirmation link to proceed.
Verifying Your Email
Verifying your email is crucial for successful email campaigns. Here’s how to do it:
- Log in to your Sendfox account.
- Go to the Settings menu.
- Click on Email Verification.
- Enter your email address.
- Click the Send Verification Email button.
Check your inbox for the verification email. Click on the verification link to complete the process. Your email is now verified.
Once your email is verified, you can start sending emails from Sendfox to Gmail. Always ensure your email list is up-to-date and valid for better delivery rates.
Creating An Email Campaign In Sendfox
Creating an email campaign in Sendfox can seem daunting at first. But with a few simple steps, you can send professional emails to your audience. This guide will walk you through the process.
Navigating The Dashboard
First, log in to your Sendfox account. You will land on the dashboard. The dashboard is user-friendly and has all the tools you need. You can see your recent campaigns and drafts here. Look for the “Create” button to get started. It’s usually at the top right corner. Click on it to begin.
Selecting A Template
Now, it’s time to choose a template. Sendfox offers many templates to suit different needs. You can find these in the template gallery. Take your time to select one that fits your campaign. Once selected, you can customize it. Add your text, images, and links. Make sure everything looks good and works well.
Customizing Your Email Content
Customizing your email content is key to engaging your audience. This step involves adding text, images, links, and buttons to make your email informative and attractive. Let’s dive into each aspect to help you create the perfect email.
Adding Text And Images
To add text, use Sendfox’s text editor. Ensure your text is clear and concise. Use short paragraphs and bold important keywords to highlight key points.
Images can make your email more appealing. To add an image, click the image icon in the editor, then upload your image. Use high-quality images that relate to your content. Here is a simple example:
Welcome to our newsletter!


Incorporating Links And Buttons
Links can direct your readers to additional resources or your website. To add a link, highlight the text you want to link, click the link icon, and enter the URL. Here’s an example:
Click here to learn moreButtons are great for call-to-action prompts. Use them for actions like “Sign Up” or “Read More.” Sendfox makes it easy to add buttons. Use the button option in the editor, set the button text, and link it to your URL. An example is shown below:
Subscribe Now| Element | Purpose |
|---|---|
| Text | Convey your message clearly |
| Images | Make the email visually appealing |
| Links | Guide readers to more information |
| Buttons | Encourage specific actions |
Customizing your email content is essential for effective communication. Use text, images, links, and buttons wisely to engage your audience.
Configuring Email Settings
When sending emails from Sendfox to Gmail, configuring email settings is crucial. It ensures your message reaches the recipient’s inbox. Proper configuration helps avoid spam filters and improves deliverability. This section will guide you through the essential steps.
Setting The Subject Line
Creating an engaging subject line is vital. The subject line is the first thing your recipients see. To set a subject line in Sendfox:
- Go to the Campaigns tab.
- Click on Create Campaign.
- Enter your desired subject line in the Subject field.
Keep the subject short, clear, and relevant. Avoid spammy words like “free” or “exclusive”. Use a mix of uppercase and lowercase letters. Aim for a subject line that piques curiosity.
Choosing Recipients
Choosing the right recipients ensures your email reaches the right audience. Here’s how to select recipients in Sendfox:
- Navigate to the Recipients section.
- Select your desired audience list.
- Use segmentation to target specific groups.
Ensure your recipients have opted in to receive emails. Sending unsolicited emails can harm your reputation. Personalize your emails to increase engagement.
Use the table below to understand the key points:
| Step | Action |
|---|---|
| 1 | Create a subject line |
| 2 | Select the audience list |
| 3 | Use segmentation |
Credit: futuresyllabus.com
Sending A Test Email
Sending a test email is a crucial step in any email campaign. It helps you ensure that your email looks good and works well. Before sending your email to your entire list, test it first.
This guide will show you how to send a test email from Sendfox to Gmail. It’s simple and quick. Let’s get started!
Sending To Your Gmail
First, log in to your Sendfox account. Open the email you want to test. Look for the “Send Test” button. It is usually at the top or bottom of the email editor. Click it.
A pop-up will appear. Enter your Gmail address in the field provided. Click “Send”. Your test email is on its way to your Gmail inbox.
Checking For Errors
Open your Gmail account. Look for the test email in your inbox. Check the subject line and preview text. Ensure they appear as you intended.
Next, open the email. Look at the content. Check for broken links, missing images, and formatting issues. Click on all links to make sure they work. Check the email on both desktop and mobile devices. This ensures compatibility across platforms.
If you find any errors, go back to Sendfox. Edit your email. Send another test email. Repeat the process until your email is perfect.
Finalizing And Sending Your Email
After crafting your email content, it’s time to finalize and send it. This stage includes a few key steps to ensure your email reaches your Gmail recipients effectively. Follow these steps for a smooth process:
Reviewing Campaign Settings
Before sending, you need to review your campaign settings. Ensure all details are correct. Check the subject line, sender name, and reply-to email address. Make sure they’re accurate and appealing.
| Setting | Details to Check |
|---|---|
| Subject Line | Is it clear and engaging? |
| Sender Name | Is it recognizable to your audience? |
| Reply-To Address | Is it a valid and monitored email? |
Sending The Email
Once your settings are reviewed, you’re ready to send your email. Follow these steps:
- Click the “Send” button in Sendfox.
- Confirm your decision in the pop-up dialog.
- Wait for the confirmation message that your email has been sent.
Your email will now be on its way to your Gmail recipients. Monitor your email analytics to track open rates and engagement.
Credit: appsumo.com
Monitoring Email Performance
Monitoring email performance is vital for successful email marketing campaigns. It helps you understand your audience’s engagement and improve future emails. Sendfox provides several tools to track and analyze your email performance effectively.
Tracking Opens And Clicks
Tracking opens and clicks gives you insights into your email’s performance. An open rate shows how many people opened your email. A high open rate indicates a strong subject line and good sender reputation. Click rates show how many recipients clicked on the links within your email. This reveals the effectiveness of your email content. Sendfox makes it easy to monitor these metrics.
Analyzing Email Metrics
Analyzing email metrics helps you refine your strategy. Look at metrics like bounce rates and unsubscribe rates. A high bounce rate means many emails did not reach inboxes. This could be due to incorrect email addresses. An unsubscribe rate shows how many people opted out of your emails. High unsubscribe rates suggest your content may not be relevant to your audience. Use this data to improve your email lists and content.
Tips For Optimizing Future Emails
Optimizing future emails is essential for ensuring your messages reach the intended audience. By refining your strategy, you can improve open rates and enhance engagement. Here are some tips to help you optimize your emails sent from Sendfox to Gmail.
Improving Open Rates
Improving open rates is crucial. Here are some tips to increase them:
- Craft engaging subject lines: Keep them short and to the point. Use action-oriented language.
- Personalize your emails: Include the recipient’s name. This creates a connection.
- Send at optimal times: Analyze your audience’s behavior. Find the best time to send emails.
- A/B test: Experiment with different subject lines and sending times. Find what works best.
Enhancing Engagement
To enhance engagement, focus on the content and design of your emails:
- Use clear and concise language: Avoid jargon. Make your message easy to understand.
- Incorporate visuals: Use images and videos. These can make your emails more appealing.
- Include a strong call-to-action (CTA): Encourage your readers to take action. Make your CTA stand out.
- Segment your audience: Send relevant content to specific groups. This ensures your emails are valuable to the recipient.
By following these tips, you can optimize your future emails for better open rates and engagement. Remember, small changes can make a big difference.
Credit: appsumo.com
Frequently Asked Questions
How To Connect Sendfox To Gmail?
To connect Sendfox to Gmail, log in to your Sendfox account. Go to the settings, find the integration section, and follow the prompts to link your Gmail account.
Can I Send Bulk Emails From Sendfox?
Yes, you can send bulk emails from Sendfox. It allows you to create and manage email campaigns, targeting multiple recipients efficiently.
Is Sendfox Compatible With Gmail?
Yes, Sendfox is fully compatible with Gmail. You can integrate Sendfox with your Gmail account to send and track emails seamlessly.
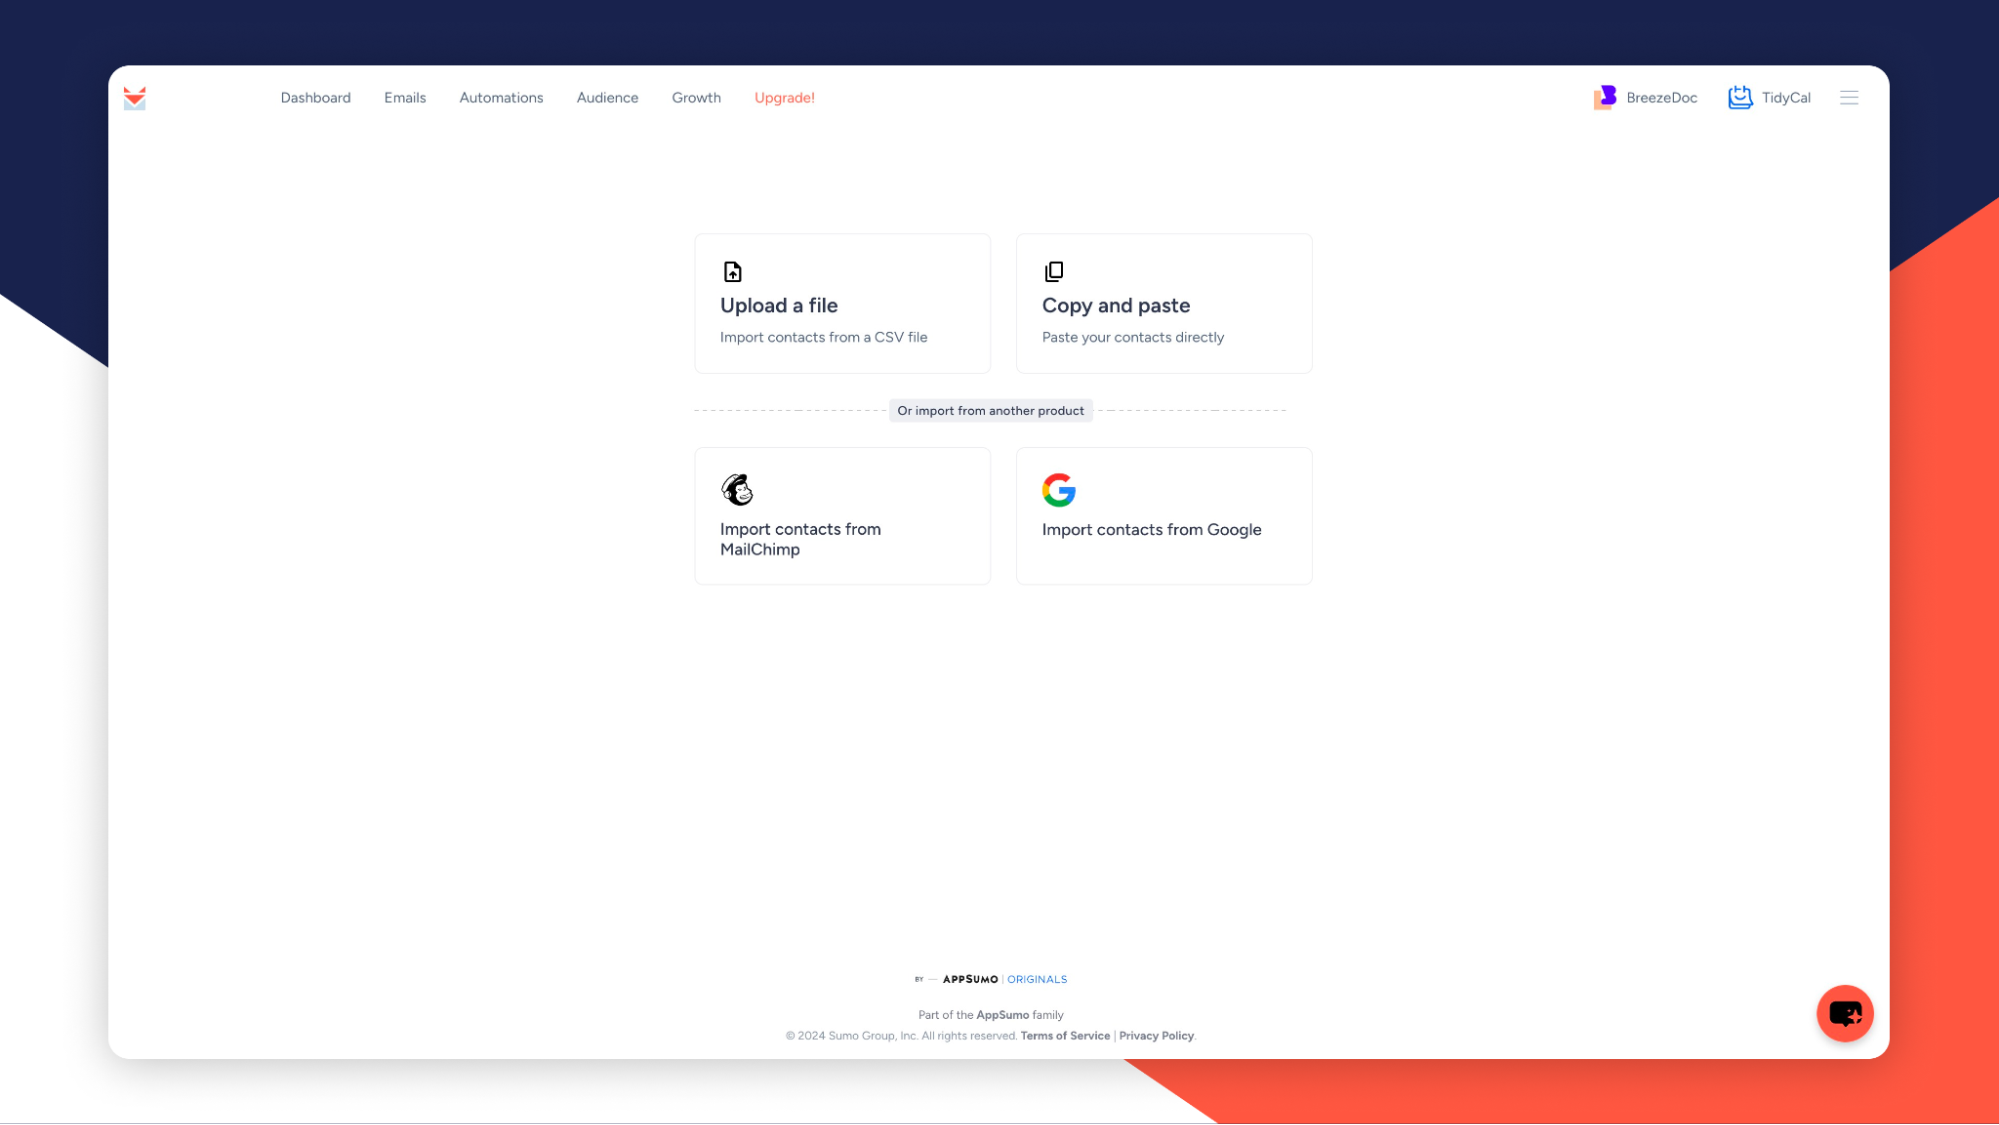
How To Import Contacts Into Sendfox?
To import contacts into Sendfox, go to the contacts section. Click on “Import Contacts” and upload a CSV file containing your contact list.
Conclusion
Sending emails from Sendfox to Gmail is straightforward and efficient. Follow the steps carefully. Ensure your settings are correct. Double-check your recipient list. Keep your content relevant and concise. Consistent practice improves your email skills. Remember to respect privacy guidelines.
Now, you’re ready to connect with your audience seamlessly. Happy emailing!