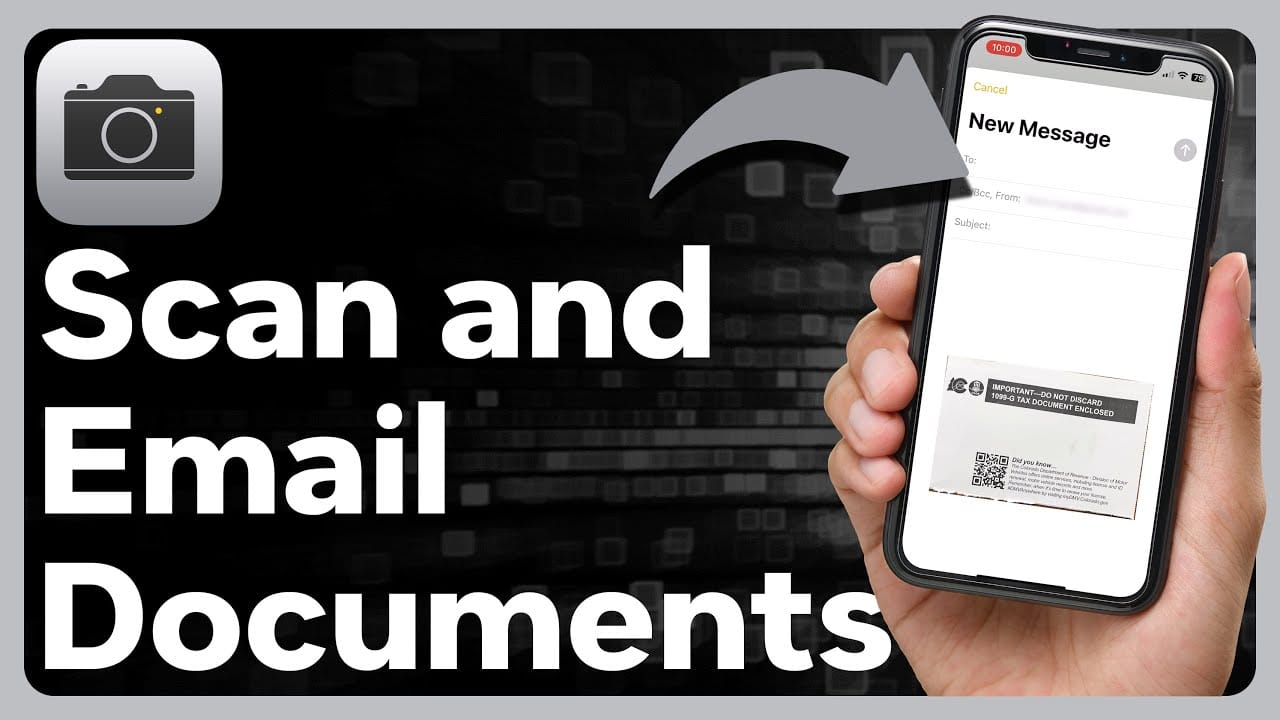
Sending scanned documents from your iPhone is easy. You can do this using the Notes app.
In this blog post, you will learn how to email scanned documents directly from the Notes app on your iPhone. The Notes app is not just for jotting down ideas. It also has a built-in scanner. This means you can scan documents and email them without needing another app.
This feature is handy for sharing important papers quickly. Plus, it’s simple to use. Let’s dive in and see how you can make the most of this useful tool.

Credit: readdle.com
Requirements
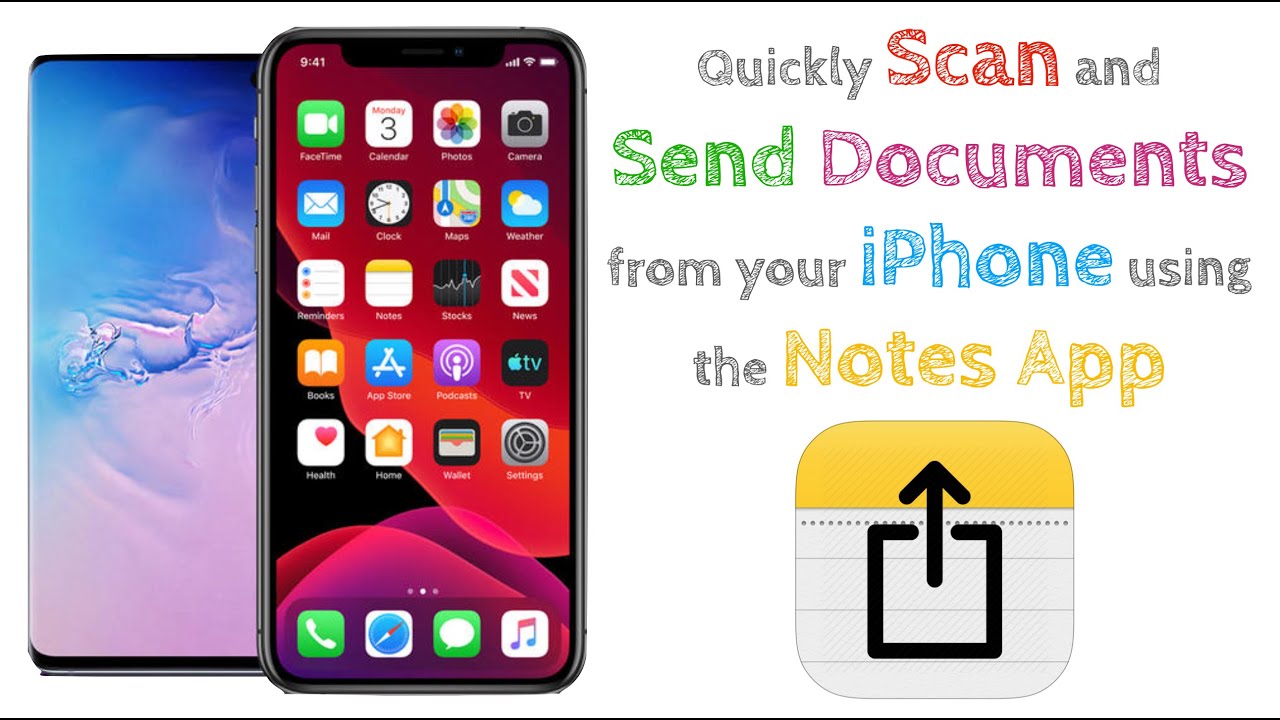
Scan documents with your iPhone and email them directly from the Notes app. Ensure you have iOS 11 or later installed. Access the Notes app, create a new note, and use the camera to scan documents.
When you need to email scanned documents from the Notes app on your iPhone, there are a few key requirements you need to meet. This section will guide you through the necessary apps and iOS version compatibility, ensuring a smooth process.
Necessary Apps
To email scanned documents from the Notes app, you need to have the Notes app itself. Thankfully, this app comes pre-installed on all iPhones.
You also need an email app. Most people use the default Mail app, which is also pre-installed. However, you can use other email apps like Gmail or Outlook if you prefer.
Make sure both apps are updated to the latest versions. This ensures that you have all the latest features and security updates.
Ios Version Compatibility
Your iPhone must be running iOS 11 or later. iOS 11 introduced the document scanning feature within the Notes app.
Check your iOS version by going to Settings > General > About. If you’re not up-to-date, you should update your iPhone.
Updating your iOS not only gives you access to new features but also keeps your device secure. So, always keep it updated.
Have you ever tried emailing scanned documents from Notes and faced issues? Ensuring you have the necessary apps and the right iOS version can make all the difference.
Stay tuned as we dive deeper into the steps next.
Credit: www.youtube.com
Scanning Documents In Notes
Scanning documents in the Notes app on your iPhone is easy. You can quickly digitize paper documents. This feature saves time and keeps your files organized. Let’s explore how to scan documents in the Notes app.
Opening The Notes App
First, open the Notes app on your iPhone. You can find it on your home screen. The icon looks like a yellow notepad. Tap to open it.
Creating A New Note
Once the Notes app is open, create a new note. Tap the compose button at the bottom right of the screen. A blank note will appear.
Using The Camera To Scan
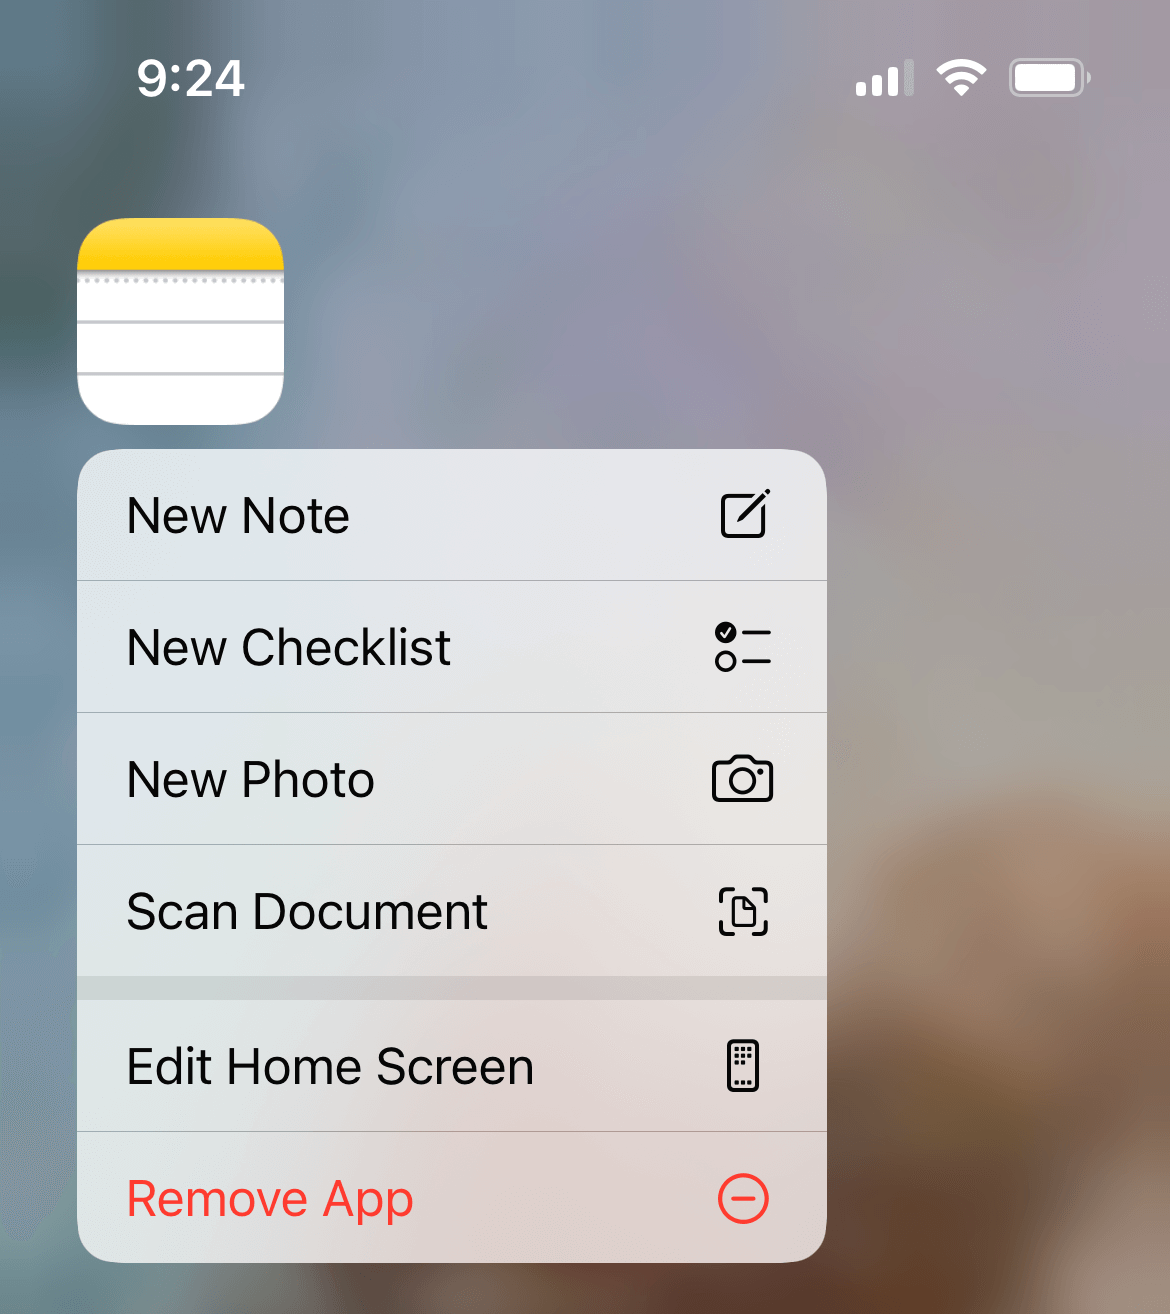
In the new note, tap the camera icon above the keyboard. A menu will pop up. Select “Scan Documents.” Align the document within the frame. The app will automatically capture the document. You can also tap the shutter button to scan manually.
After scanning, adjust the corners if needed. Tap “Keep Scan” to save it. Repeat for multiple pages. Once done, tap “Save.” Your scanned document is now in the note.
Editing Scanned Documents
Editing scanned documents on your iPhone can significantly enhance the clarity and professionalism of your files. Whether you need to crop, add filters, or include annotations, your iPhone’s Notes app has got you covered. Let’s dive into these editing features to make your documents look their best.
Cropping And Adjusting
After scanning a document, you might notice unwanted edges or parts. You can easily crop these out. Select the scanned document in your Notes app. Tap on the crop icon and drag the corners to adjust the frame. This ensures only the relevant content is visible.
Additionally, adjusting the scanned image’s orientation can help. Use the rotate option to align the document correctly. This is especially useful if the scan was slightly tilted.
Using Filters
Filters can enhance the readability of your scanned documents. Tap on your scanned document, then select the filter icon. You’ll find options like grayscale, black and white, and color. Choose the one that makes your text pop.
Black and white filters can be particularly useful for text-heavy documents. They remove unnecessary colors, making the text sharper and easier to read. Experiment with different filters to see which one works best for your document.
Adding Annotations
Annotations are a great way to add notes or highlight important sections. Tap on the scanned document and choose the markup option. Use different tools like the pen, highlighter, and text box to add your annotations.
If you need to sign a document, use the signature tool. Save your signature in the Notes app for quick access. This adds a personal touch to your scanned documents.
Have you ever wondered how to make your scanned documents stand out? By cropping, applying filters, and adding annotations, you can create professional-looking files right from your iPhone. Give these tips a try and see the difference for yourself!
Saving Scanned Documents
Saving scanned documents on your iPhone is a breeze with the Notes app. This feature ensures your important files are always within reach. Whether for work or personal use, having quick access to your scanned documents is essential.
Saving To Notes
Open the Notes app and create a new note. Tap the camera icon and select “Scan Documents”. Position your document, and the camera will capture it automatically. Adjust the corners if needed and save it. Your scanned document is now stored in the note.
Organizing In Folders
Keeping your scanned documents organized is crucial. Create folders in the Notes app to categorize your scans. Tap the “New Folder” button and name your folder. Drag and drop your scanned notes into the appropriate folders. This method helps you find documents quickly.
Preparing To Email
When you need to email a scanned document from Notes on your iPhone, it’s essential to prepare the document correctly. This step ensures that the document is clear and easy to read for the recipient. Here are some straightforward steps to help you get started.
Opening The Scanned Document
First, open the Notes app on your iPhone. Navigate to the note containing your scanned document. Tap on the note to open it.
Once the note is open, locate the scanned document within the note. Tap on the document to view it in full screen.
Have you ever struggled to find a specific scan among many notes? Use the search bar at the top of the Notes app to type keywords related to the document. This can save you time and help you stay organized.
Accessing The Share Menu
With your scanned document open, look for the share icon, usually represented by a square with an upward arrow. Tap on this icon to open the Share Menu.
The Share Menu provides several options. Scroll through the list until you see the Mail option. Tap on Mail to open a new email with the scanned document attached.
Have you ever found the Share Menu cluttered with many options? Customize your Share Menu by tapping on the “More” button at the end of the row. You can rearrange your frequently used options for quicker access next time.
How often do you need to email documents directly from your iPhone? Mastering this process can make your workflow smoother and more efficient.
By following these steps, you can ensure that your scanned documents are ready to be emailed quickly and efficiently. Try these tips today and see how much easier it becomes to manage your documents on the go!
Credit: www.alabar.org
Emailing The Document
When you need to email a scanned document from your iPhone, the Notes app makes the process straightforward and efficient. Whether it’s a receipt, a contract, or any other important document, you can easily scan and send it without leaving the app. Let’s break down the process into simple steps so you can quickly get your document where it needs to go.
Selecting The Mail Option
Once you’ve scanned your document in the Notes app, it’s time to select the mail option. Open the note containing your scanned document. Tap on the share icon, which looks like a square with an arrow pointing upwards.
From the share menu, you will see various options like Messages, Mail, and more. Tap on the Mail icon. This will open a new email draft with your scanned document automatically attached.
Composing The Email
Now that you have your new email draft open, it’s time to compose your message. Start by entering the recipient’s email address in the “To” field. You can also add a subject line that clearly states the purpose of the email.
In the body of the email, write a brief message. For example, you might say, “Please find attached the scanned document you requested.” This helps the recipient understand the email’s content quickly.
Sending The Email
Before sending, double-check the recipient’s email address and the attached document. This ensures everything is correct and attached properly. Once you’re ready, tap the send button, which is typically a paper plane icon.
Your email will be sent, and you will receive a confirmation in your Sent folder. It’s that simple! Have you ever found emailing documents this easy? Now, you can confidently share important scans right from your iPhone.
Troubleshooting
Experiencing issues when trying to email scanned documents from the Notes app on your iPhone can be frustrating. You might have followed all the right steps but still hit a snag. Let’s dive into some common problems and their possible solutions to get you back on track.
Common Issues
Several users encounter similar issues when emailing scanned documents from the Notes app:
- Your email won’t send.
- The document attachment is missing.
- The Notes app crashes unexpectedly.
Have you faced any of these? Let’s address them one by one.
Possible Solutions
When your email won’t send, check your internet connection. A weak or unstable connection can cause emails to get stuck. Reconnect to Wi-Fi or switch to mobile data.
If the document attachment is missing, ensure that the scan is saved correctly. Double-check by opening the note and confirming the document is visible. If not, rescan the document and save it again.
Does your Notes app crash? This may be due to an outdated app version. Update the Notes app from the App Store. Restarting your iPhone can also help in resolving temporary glitches.
Have you encountered a different issue? Share your experience in the comments. Your input could help others facing similar challenges.
Frequently Asked Questions
How To Send Scanned Document From Iphone Notes To Email?
Open Notes, select the scanned document, tap the Share icon, choose Mail, and send it.
How Do I Send Notes From My Iphone To An Email?
Open the Notes app. Select the note. Tap the share icon. Choose Mail. Enter email address. Send.
How Do I Email A Document That I Scanned?
Open your email account. Click “Compose” to start a new email. Attach the scanned document by clicking the “Attach” button. Select the file from your computer. Enter the recipient’s email address and send the email.
How Do I Send A Document From My Iphone To My Email?
Open the Mail app on your iPhone. Tap the compose button. Attach the document by tapping the paperclip icon. Select the document from Files. Send the email.
Conclusion
Sending scanned documents from Notes on your iPhone is quite simple. Follow the steps, and you’ll be done in no time. This method saves you effort and ensures your documents are safely sent. Your iPhone makes the process quick and easy.
Try it out today and see how smooth it is. Happy emailing!